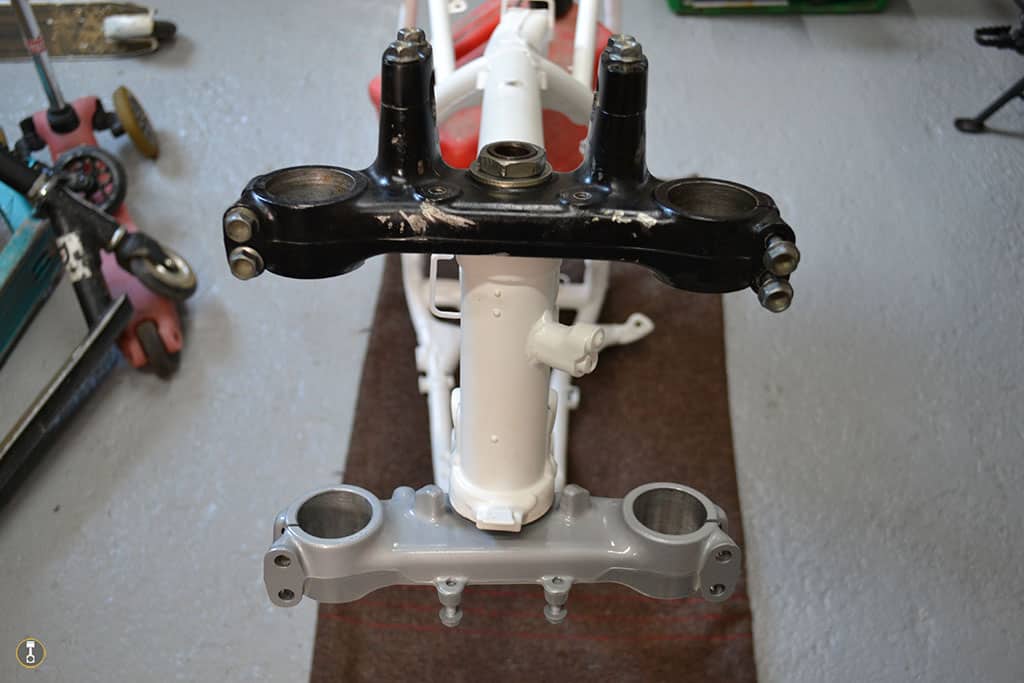
As part of the XR triple clamp rebuild I replaced the steering bearings, and in this post I will talk about the process of installing the bearing races into the head stock of the bike frame and then installing the triple clamp back into the head stock.
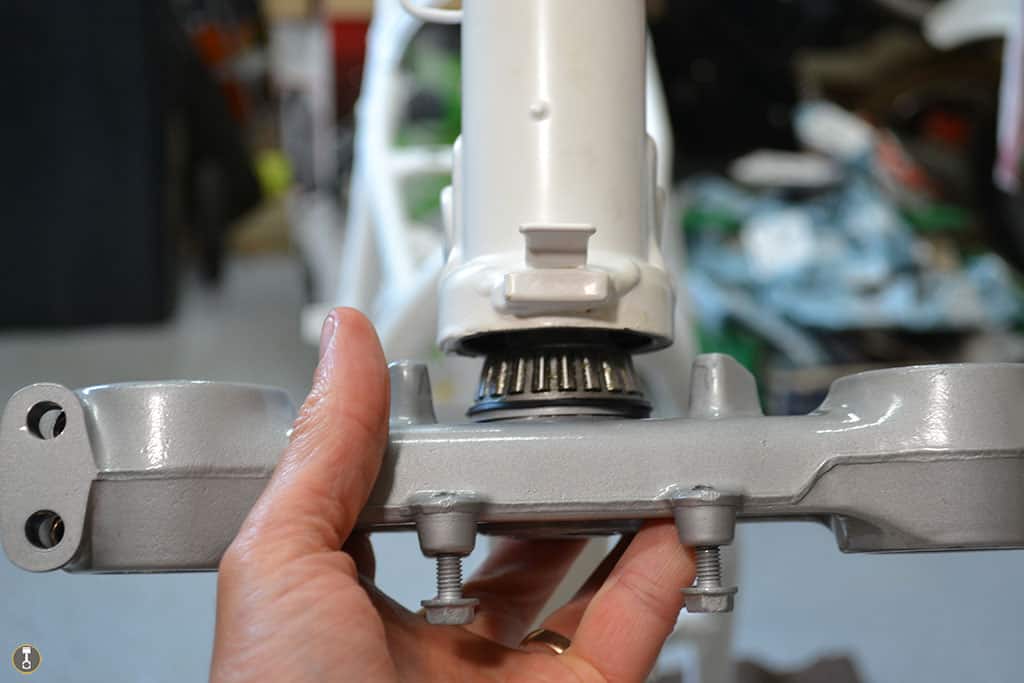
When buying a new bearing you get the bearing race which is the metal ring that sits inside the head stock. The bearing is seated in the race and allows for free movement of the bearings themselves, which in this case are tapered roller bearings that look like this:
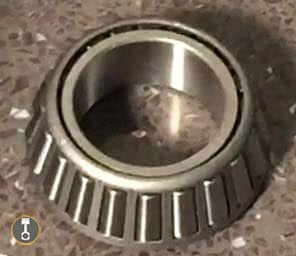
That means that the race is going to be also tapered to accommodate this shape.
You will have 2 bearings, top and bottom, and therefore have 2 races to install into the head. One on the top and one on the bottom, both will be done in the same way.
The bearings for my Honda XR 250 are both exactly the same and yours most probably will be as well. If you are in doubt though, double check using a website like fowlersparts.co.uk so you can cross reference the part numbers.
Getting Ready To Install: Tools and Equipment:
I will assume you have already tackled the bearings themselves and have them installed onto the stem of the triple clamp, so this is talking about what is needed for the races.
Here is the list of the tools and equipment I used:
- Freezer
- Small Blow Torch
- Lump Hammer
- Length of Wooden Batten
- Bel Ray Waterproof Grease
- Old Bearing Race
The freezer is used to chill down the race. I had the races in there for a couple of hours prior to install and that seemed to be enough time. By freezing these the metal will contract and as a result will shrink by a very tiny amount, but the smaller the better because it means they will be easier to drop into place.
On the opposite side of that process comes the blow torch, used for heating to race track in the head stock to create the opposite effect. Heat will expand the metal to create another very tiny adjustment in size, in this case getting bigger.
These two process together will give us our best chance of making light work of the installation by giving us the maximum amount of wiggle room possible.
The grease, hammer, old race and wood will assist us in the process.
Installing The Race:
So I have already mentioned freezing the races and heating the frame.
When heating the frame I like to use my small blow torch because it means I can control where the heat is going more than a bigger blow torch. My thoughts is it will help reduce the risk of discolouring and burning any paint work which I have seen happen on a youtube video I watched.
By the way I run some grease around the track before heating as there is no way you are going to be doing it afterwards.
Only when the frame race track is heated do you want to take the race out of the freezer because they don’t take long to warm up.
Position the race on the frame then take the wood and lay it over the top.
I then use the lump hammer to strike the wood and try to even tap the race down. On the first attempt I thought it would be a good idea to use a rubber mallet but this just didn’t provide enough force.
As soon as I got the race started I took off the wood and used the old bearing race to do the same job. This is more effective because it is solid so you get a better strike.
It can be tricky and I did cath my thumbs a couple of times. Using this old race is also easier because it means once the new race has got to the point of being flush the old race will start to enter the frame as well. You would not be able to continue a this point if you were just using wood.
Using the old race also means you can hit it directly with the lump hammer without dinging the new race but getting a decent connection and transfer of force to tap the new race down.
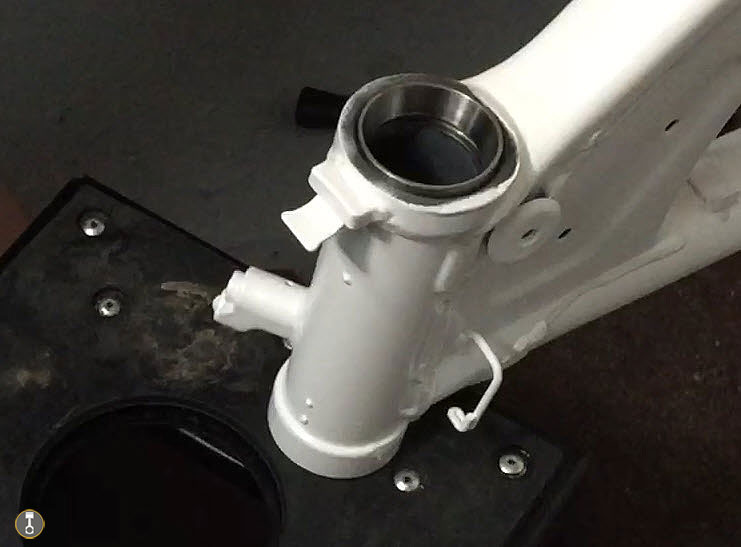
The new race will end up seated in position whilst being a few millimeters down inside the headstock. It is not meant to be flush or protrude.
When happy that it was nice and snug I run a finger full of grease around the newly installed bearing race ready to take the bearing which will also be fully greased up.
Thats it, I repeated the process for the second race and had the both done within 30-40 mins.
Steering Bearing Replacement Cost:
If you are taking the triple clamp apart and completely out of the head then at the minimum you will want to clean up and re-grease the bearings.
This is also the time to replace the bearings if you are considering it.
I cant speak for all types of dirt bikes about costs I can only give you a breakdown of what I have paid and that is for my 1991 Honda XR 250. All parts I have bought from FowlersParts.co.uk and grease from eBay – here it is:
- 2 x bearings (includes races) – £62.04
- Top and bottom bearing dust seals – £11.23
- Bel Ray Waterproof Grease – £12.15 (will last forever as only used a very small amount)
Steering Bearing Replacement Cost Total: £85.42
This doesn’t take into account tools of course and some people may wish to buy a bearing press which will allow you install these in a more professional manner, although for me I can’t justify the cost as I o this once in a blue moon as a casual rider. Maybe if you ride every weekend and ride hard then new bearings would be needed more frequently and that might justify it for you?
Installing Your Triple Clamp To Complete The Process:
Everything should now be ready to put back together. You have new races in the head, and the triple clamp has had the new bearings and dust seals installed. (step by step pics below)
This time I overhauled the triple clamp by cleaning all the components as well as giving it a paint job. All this is detailed in my other post, which by the way, you can see all posts relating to this XR rebuild collected and displayed on my hub page for the project – Honda XR250 Project
Installing the triple clamp back into the frame is easy, it is just nuts and washers.
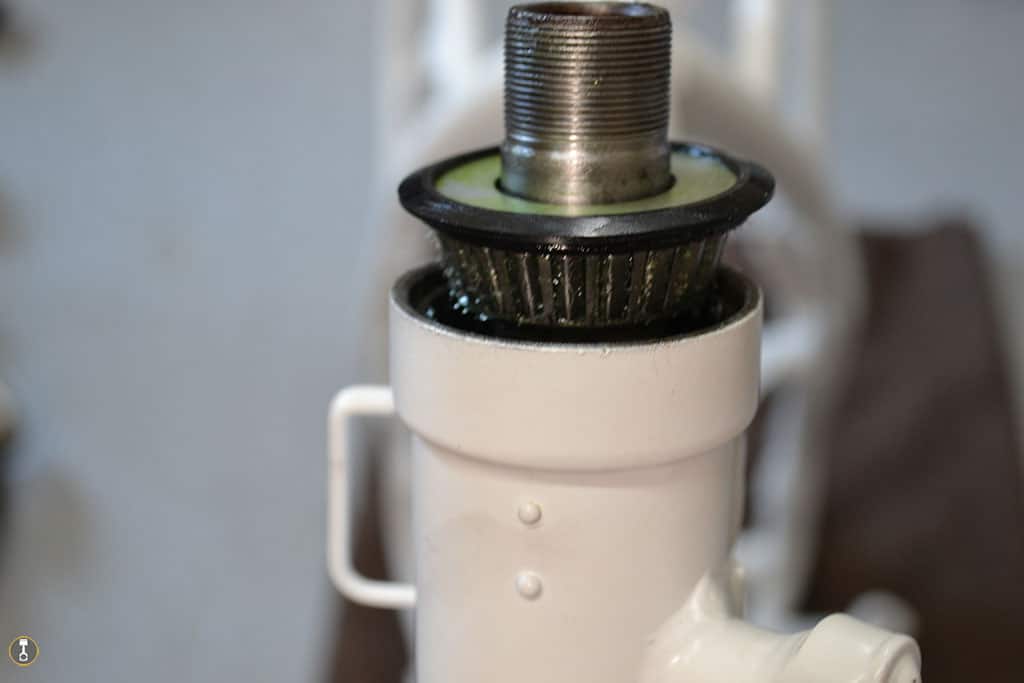
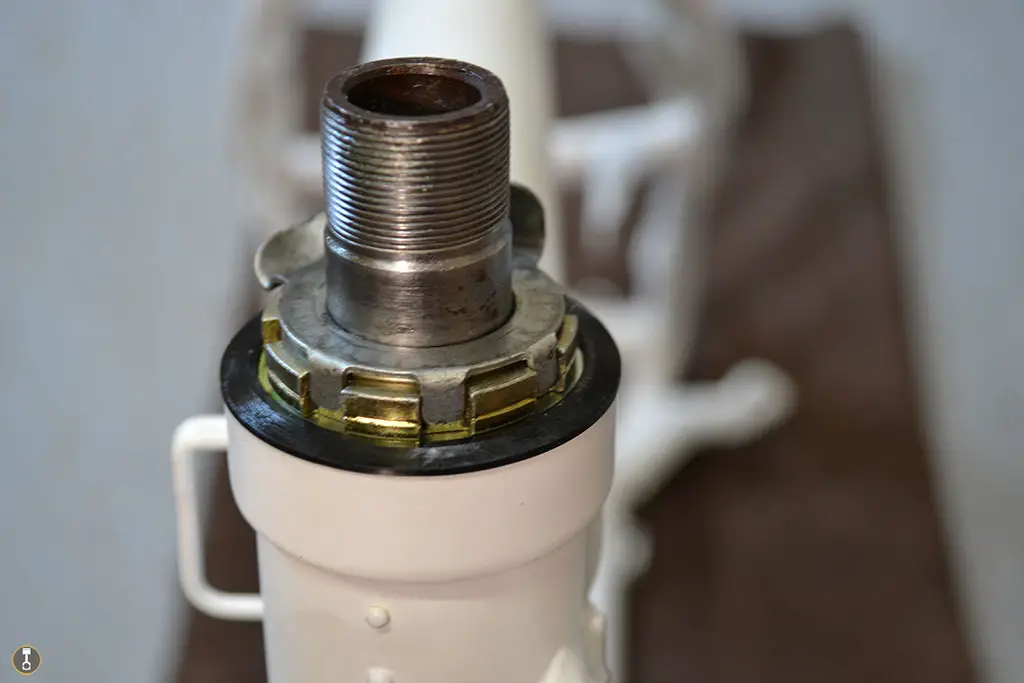
First you slide the steering stem with the bottom clamp on, into the head from the underside. The bottom bearing will then seat itself into the bottom race we installed earlier.
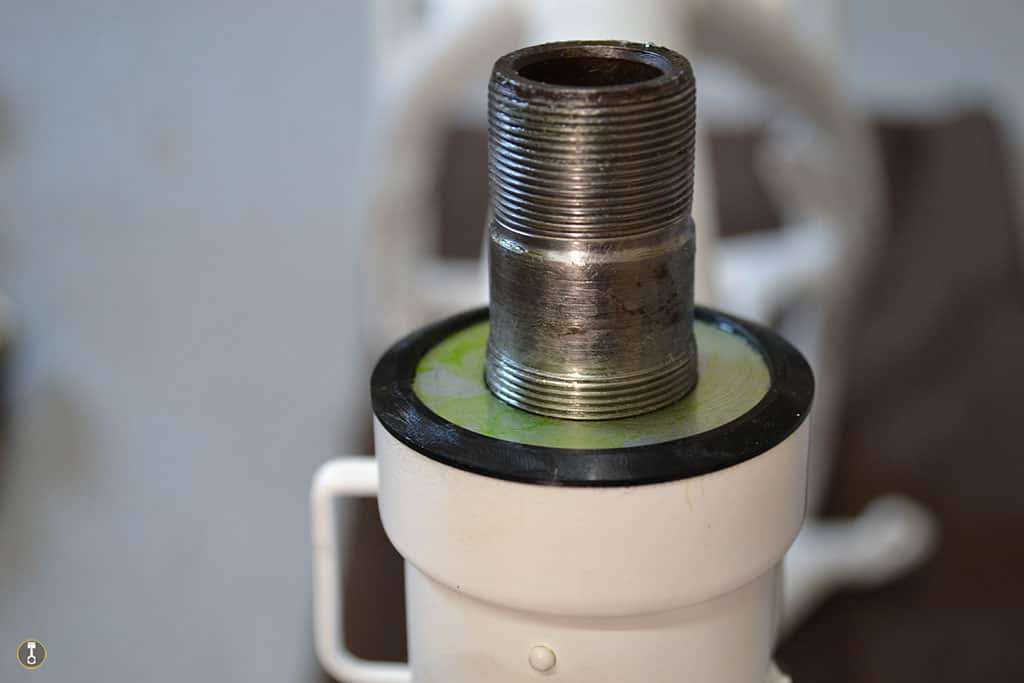
Next you have the top bearing to slide onto the stem upside down so this sits nicely into the top race of the head.
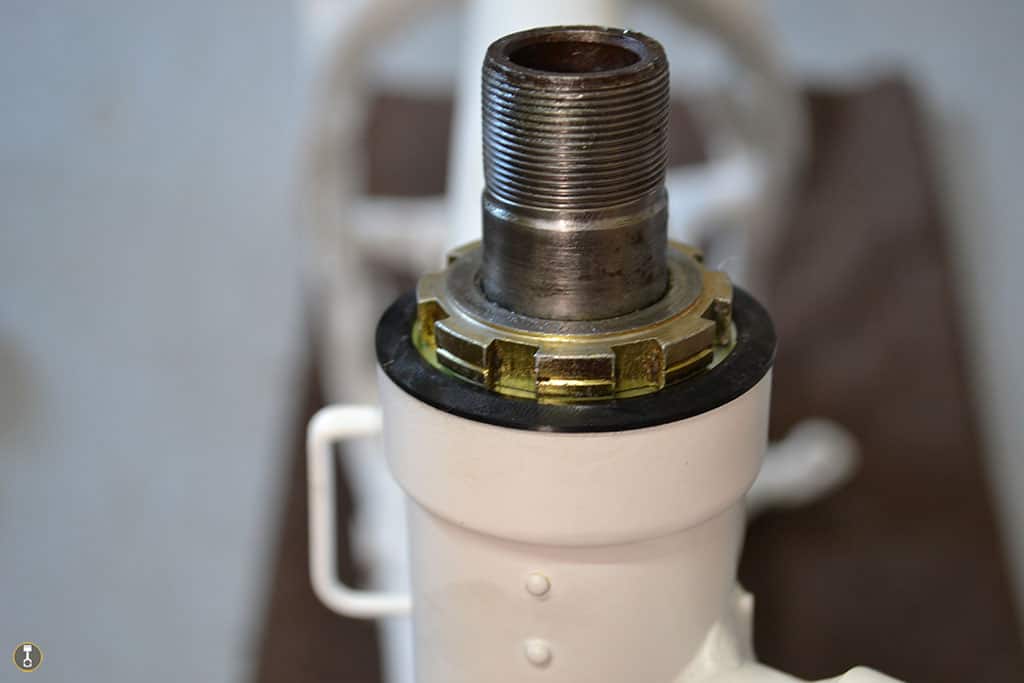
The top dust seal will then go on and mine clicks into place as I push it into position.
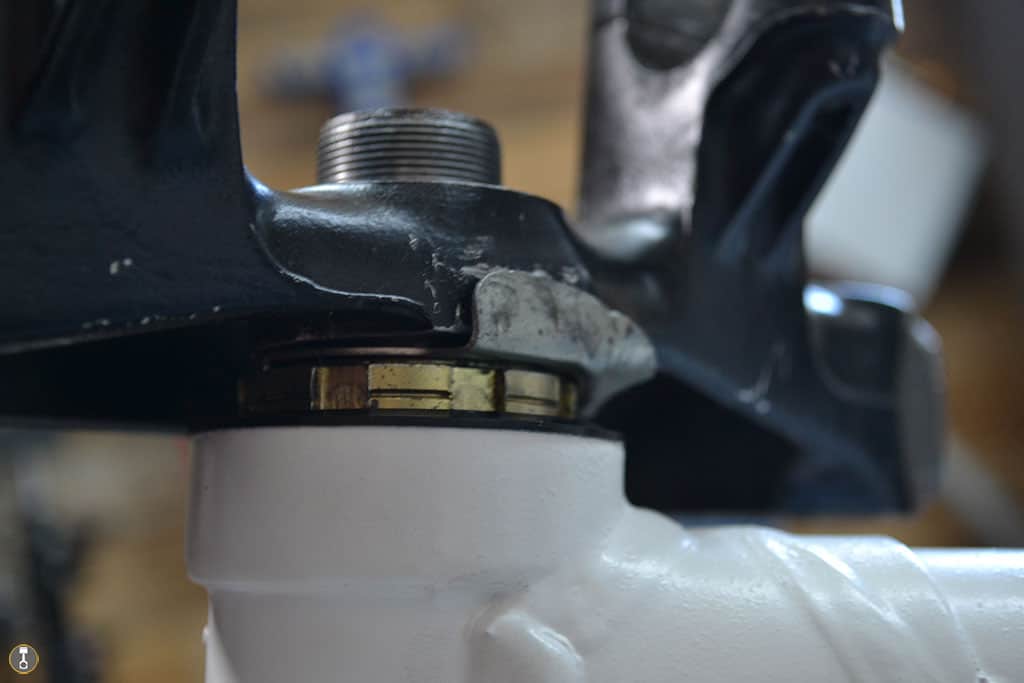
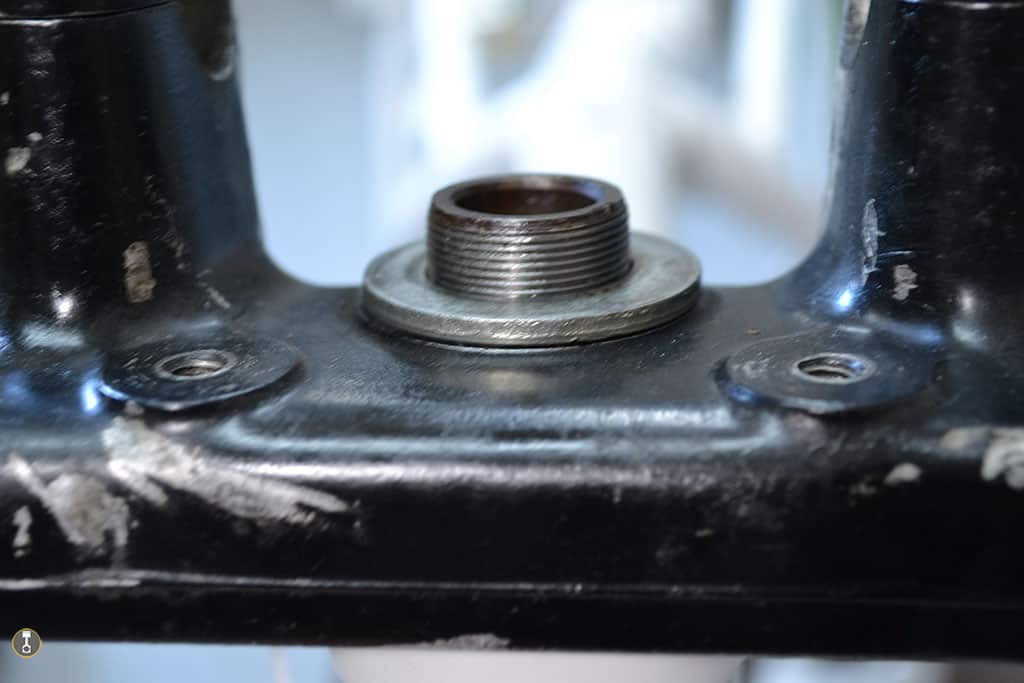
Then it’s the steering head cog looking threaded nut, followed by the washer that sit directly under the top clamp.
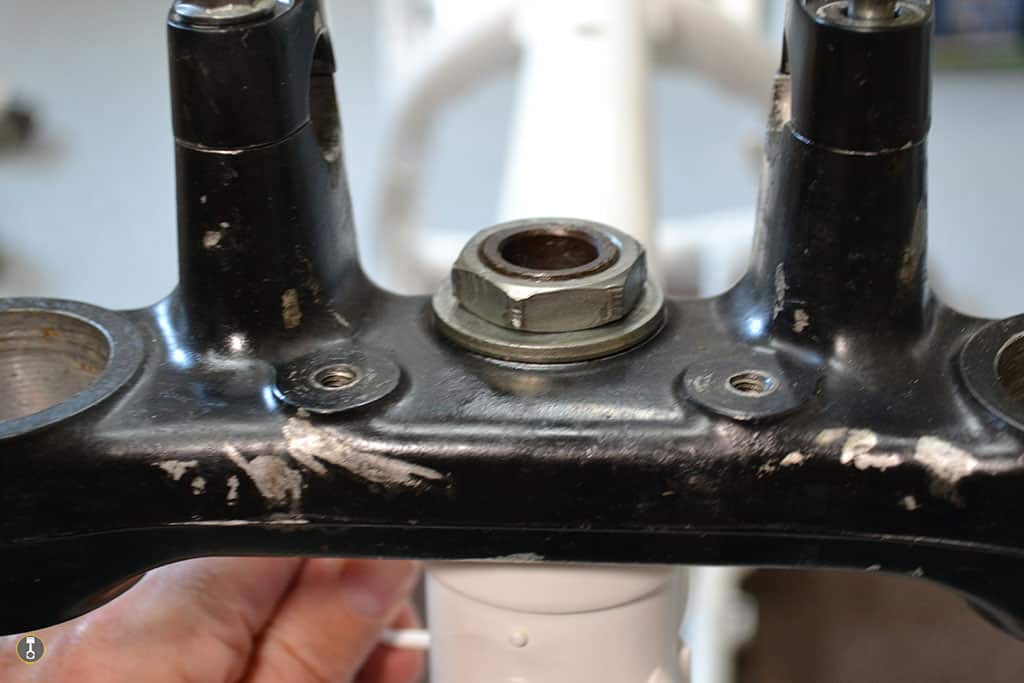
After replacing the top clamp I have another washer which is a standard shape followed by the top nut.
That’s all done. It is ready to receive the forks and handle bars.
Installation In Pics