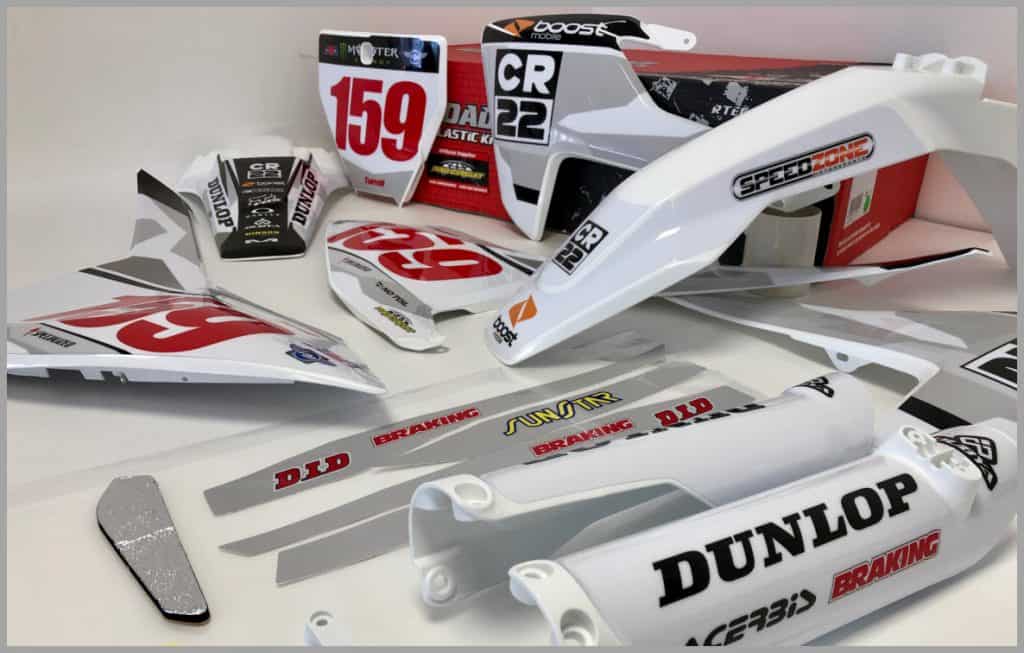
Having the right dirt bike graphics can really make your bike stand out and I am really looking foward to choosing new ones for my XR250 which is currently under going a rebuild.
I have been thinking about if it is possible to design your own which would mean having a set of decals totally unique to you. My first question when milling this over was ‘What Are Dirt Bike Graphics Made Of ?‘
Dirt bike decals/graphics are made of vinyl. Different thicknesses are offered with either a gloss or matte finish with thicker products being more expensive. Modern day graphics are usually perforated to allow fuel fumes to escape and prevent bubbling.
So Can You Make Your Own Graphics?
So after looking into this abit more I have decided that making your own dirt bike graphics is not the way to go unless you are already in the decals business.
To do it properly you would need heavy investmenet £££ to purchase the right machines and products to setup the environment needed to be able produce a finished product.
I did come across motocal.com where you can create your own custom graphics online and they will print, cut and send them to you. This has to be the best way of getting unique, custom made decals so worth checking out.
How Thick Are Dirt Bike Graphics?
Depending on where you decide to buy your decals the thickness offered may vary. Some companies will offer different thicknesses and finishes whilst others will just state what they provide as a single option.
Motocal for example allow the customer the option of thin, medium and thick graphics. Where thin is 160 microns, medium weight is 395 microns and the thickest option is 533 microns.
Single options from companies will generally be middle of the road around 400 micron range which is obvisouly comparable to medium thickness.
Logically the thicker the graphics the more hard-wearing they are. Although thinner designs lend themselves to being more flexible which can be handy for contours.
How do you remove dirt bike graphic adhesive?
Ok so if you are changing your graphics then you are going to want to know how to get rid of the old adhesive. I came across this when I was restoring my plastics (projectdirtbike.com/how-to-restore-dirt-bike-plastics-4-simple-steps).
Basically if you are in a position where you are yet to remove the graphics then use a heat gun to gently apply heat to the decal then slowly peel it off. This should then remove the majority of the glue with the graphic.
With the remaining glue there are a couple of things you can try. Firstly I would use a piece of the decal you just removed using the clean/graphic side, press onto the glue and re-peel using a little heat ton try and encourage it to come off with the decal.

Once you have exhausted this option then you can try using some kind of solvent like White Spirit which is available in most shops. Use some on a rag to rub over the glue. This should help remove residue.
Failing that you can try the heat gun directly on the glue but it will start to get messy so normally a last resort.
The Best Place To Buy Dirt Bike Graphics
There are literally hundreds of places you can get graphic kits for your bike so below is a short list of companies that I have either used or hear getting recommended a lot.
There are also many suppliers on eBay but personally I like buying this sort of thing from a company with a good rep and experience.