Riding my dirt bike on the weekend is one of the things I look forward to every week when I am at work. But no matter how often you ride, you do need to maintain your bike in order to keep it healthy. For me it’s only a chore when you don’t have a routine so if you don’t have one you are in the right place.
Dirt bikes are not hard to maintain but do require regular maintenance to keep them running at their optimum. Any level of rider can learn a basic maintenance routine which can be carried out at home. Competition dirt bikes will require a higher level and more frequent maintenance.
Read on to find out what I do for regular maintenance on my dirt bikes and then some of the more advanced techniques for people that love getting their hands dirty. Hopefully by the end you will have a better idea as to whats involved to keep you bike in good condition without having to get a mechanic to do it for you.
How Do You Maintain A Dirt Bike?
Learning how to carry out basic maintenance on your dirt bike is easy, and after the first time of doing it you will become confident enough to have no problem running your own basic maintenance schedule.
Below I have written a descriptive list showing whats included in keeping your dirt bike maintained. Follow it through and you then decide to either use it as is, or as a guide to help develope your own maintenance routine.
Under the list of steps I will talk about how often you may carry out such tasks.
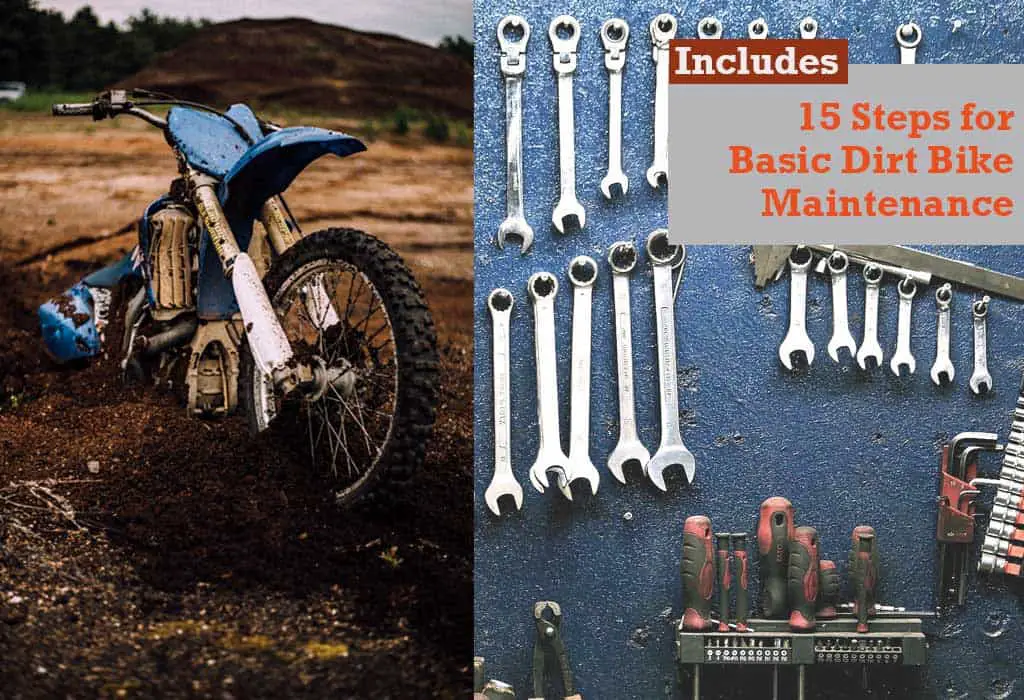
15 Basic Dirt Bike Maintencance Steps
Wash Your Bike After Every Ride
Forcing yourself to wash your bike as soon as you get back from your ride is going to help you to start setting good habits. This is as about as basic as it gets but it is an important job.
I live near the coast and if I take a green lane around the coast line then you can bet the bike is going to get salty, and that will cause corrosion.
Others will be comp riders who will get caked in mud and this too needs jetting off.
Use a good power washer and carefully go over the bike, being careful not to blast seals and bearings. Also back away from the chain because you dont want to blow water between the chain link seals.
Laying the bike down will help you get access to the underside. (Here is a link to my post about the best power washers for dirt bikes if you need it.)
Be sure to dry the bike after washing to avoid corrosion. I like to use WD40 which will help force water out of hard to reach places and puts a protective layer over the bike.
Visual Check
I kind of do this whilst washing it but I also give it the eye over when it’s dry to check for any damage from the ride. You will likely know if you broke something whilst you were out but things like stone chips or cracks can be missed.
Check The Oil
You may or may not have a small dip stick on the oil filler cap but either way check the level as per your manual.
Depending on how detailed your maintenance schedule is you may know the oil needs changing already because the bike has clocked up so many hours riding, or a certain amount of time has passed since you last done it.
Different strokes for different folks as they say.
Normally competition riders will go by hours on their dirt bikes hour meter. For me on my 91 Honda XR, I go by weeks or months depending on the time of year, because I don’t ride all year round and I don’t ride her to hard. I also dont have an time meter so this would been logging my ride time.
At the very east here you will be checking the oil level and the oil colour to see how far gone it is and if it’s due a change.
Check Tyre Pressures
I do this pre ride everytime. Logically it would be pointless to do when you return from a ride because you dont know when you are next out and the tyre could of gone flat in that time.
A simple job using a tyre compressor and inflating to the correct pressure according to the manual specs.
Check Brake Pads For Wear
Checking the brake pads is another easy one. Looking down the disc you can see pads either side and you will come to be familiar with the amount of wear that is left and where the limit is.
If you search the blog for ‘when to replace dirt bike brake pads’ you will find a post that details this with pics to show you.
There is another post detailing how to change the brake pads with plenty of pics which is a good guide. Find that here – How To Change Dirt Bike Brake Pads
Check And Clean The Air Filter
The air filter should be clean in terms of colour as well as clean from dust and debris. Most air filters will pull out and can be washed in warm water. Just make sure they are dry and re-oiled before putting them back in.
A clean air filter allows air through into the carb and stops dirt from getting in which would cause running problems.
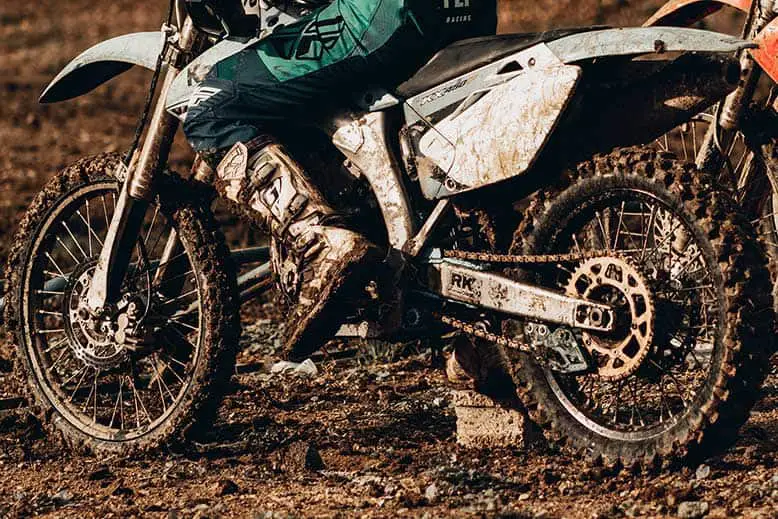
Chain Condition and Tension
Give the chain a visual inspection to see that it looks intact and then apply chain lube if needed.
For chains that are really grimmed up then you may want to consider taking it off to clean it. This is out of the realms of the basics but something for the advanced routine.
Check the tension of the chain. Rolling the back wheel whilst off the ground will make tight spots noticable. You also don’t want excess slack on the chain.
Chain Sprockets
Front and rear sprockets will need replacing at some point which is advanced, but again I like to look them over as part of basic.
The fron sprocket is smaller and has less teeth than the back but the same checks apply.
Look for worn teeth, these will become pointed or hooked over, like the crest of a wave. Both signs the sprocket need renewing.
It’s always a good idea to change the chain at the same time as getting new sprockets so they wear together.
Mixing old with new will cause quicker wear to happen so you will cost you sooner and wont be much different in cost in the long run.
Check All Electronics
Your bike may or may not be road legal and therefore may or may not have a full range of road electrocnics, like lights and indicators. Check the electrics you do have by checking them through individually to see they function properly.
If you have got lights etc then obviously check the bulbs are all working.
Keep your eyes peeled for any wires and connections that look tired or broken.
Check Brake Fluid
This is unlikely to need topping up unless you have a fault so worth checking the level which may be an indicator something is leaking.
Check the brake fluid by looking theough the spy glass on the reservoir that is located on the handle bars. Top up by removing the reservoir cap being careful not to let air into your brakes, if you do then you will need to bleed them. More on that later…
Check Spark Plug
The spark plug is a general maintenance item and it will need swapping out at some point. If the spark plug is fouled up then it can cause running issues. It is a great indicator to see if your bike is running to rich or too lean.
In the worst cases you my feel the bike playing up on the throttle and the spark plug is something you would check as part of diagnosing this. That is advanced / troubleshooting so for now it’s just a case of checking it.
Undo and take it out. With the plug cap still on you can hold the plug against the metal engine casing and whilst kicking the bike over (easiest with electric starts as you just go to start it up) see if there is a decent spark happening.
Also check the colour and moisture. You are looking for a Spark plugs that is biscuit brown in colour and not to wet or dry.
Check Wheel Bearings
Bearing will eventually need replacing and although the replacement is more advanced the checking should be basic routine in my opinion.
For this you want to get the bike on a stand so the wheels are free to move off of the ground.
Take one wheel at a time and spin it to see it moves freely and comes to a gradual slow stop. Next with one have gripping the top and the other the bottom of the wheel try and rock it side to side to make sure there is no excessive movement. If there is then the bearings need replacing.
Check Tyres
Another easy one here. Check the tred to see if it is running low or not, and then the overall condition of the tyre.
Make sure you have no cracks or random bulges in the tyre wall and whilst you are looking round it, check for any screws, nails or other foreign objects that maybe embedded.
Leaking Fork Seals
When fork seals go they will cause the oil held within the forks to leak out and result in the low performance of the forks.
To check for leaks you need to remove, or slide the fork boots ( also known as gators) out of the way.
First off you will likely see if oil has been leaking. The seal where the inner rod enters the outer fork casing will be wet looking. You can also run you finger around the inside of the lower end of the fork boot to check for oil in there.
Double check by shifting your weight so you are bearing over the handle bars and surpress the forks giving them a pumping action to see if any oil comes out.
Seal kits can be a few quid for original parts ( which I always use for my Honda) but aren’t the hardest of parts to change. You will need a fork seal driver though, or make your own like I did.
Changing the seals I put under the advance section.
Battery check
Not all bikes will have a bettery. I have an XLR trail bike that does and a Honda XR that doesn’t. I think most modern bikes will which is why I have listed it. This is because they are likely to have an electric start.
Checking the battery can be done with certain battery chargers that check voltage and amps etc. You take the battery off and hook it up to get the reading.
You could also use a multimeter which YouTube has loads of videos on.
If you replace the battery then write the date of the change on the battery so you know and if the bike starts then that might satisify you it is working. Then just check the connectors are tight on the terminals and your good to go.
How Often Should You Service A Dirt Bike
For most of the maintenance steps this is going to depend largely on how often and what kind of riding you do. Only you know that and in time you will create a routine personal to your requirements. (Creating your maintenance schedule is coming up below) Put in broad terms its simple.
You should service your dirt bike at regular intervals to accommodate your riding style and how much you ride. This will ensure your bike is safe to ride at all times and stays healthy which helps prevent longer term damage to parts and components.
If you do the basics you are half way there and as you become more experienced with the riding and get to know your bike you will have better idea of the more important tasks. Regular oil changing for example, is vital to ensure the longevity of all engines.
Creating A Maintenance Schedule
So with all of the above you need to create a schedule or routine. This could be as simple as listing down the above steps and going through them one by one after or before each ride.
For more detailed routines you can create records which will help build a history of when you have done things. This is a great addition to when the time comes to sell your dirt bike.
Personally I have tasks which are second nature and dont warrant recording. These are things like checking tyre pressures.
Then there are steps I like to record, like oil changes, spark plug changes and part replacements like wheel bearings so I have reference to look back on for the next time.
Finally lets conclude this post by looking at some more advanced maintenance tasks.
Advanced Dirt Bike Maintenance Tasks
Here i’ll list out tasks that I consider routine things but not necessarily carried out as often as the basics. That is to say they will need doing sooner or later but not as frequent.
You may decide that some of these tasks you want a mechanic to do which is fine. But if you want to give it a go then use the search bar at the top of this website to search for specific tasks because it will likely be covered in another post.
If you are struggling then just drop me a comment and i’ll be sure to help where I can
I should also mention the maintenance hub page is where I list all posts I have created based around maintenance tasks. If it’s not there but gets requested I shall create it at a later date but in the long run I hope to cover most tasks.
The task below are in no particular order
- Fork seals replacements
- Spokes – condition and replacing
- Steering Bearing replacement
- Chain and Sprocket replacement
- Valve clearances
- Coolant
- Wheel bearing replacement
Dirt Bike Maintenance Conclusion
I hope this post has helped you understand what maybe included in your dirt bike maintenance schedule. None of the tasks in the basics are hard to do and you really should learn these at the minimum.
Some of the advanced tasks are harder but many are also simple. It will likely take the odd investment in the right tool but most riders like doing their own work and it’s all part of the game, me included. Most of the site is based around my tinkerings.
If you haven’t checked out my projects section then do. You will see loads of posts about various different parts being stripped and rebuilt which is another great resource.
Thanks for stopping by.