There are 2 main options when it comes to painting your dirt bike frame. You can either get it powder coated or you can paint it yourself using spray cans. I am making the assumption that most people who read this post will be looking at the option of painting the frame themselves so that is the process we will talk about in this post.
We shall also have a quick look at the differences between spray painting and powder coating, to talk about why you would use one over the other and the approximate costs involved in each. You can find that towards the end of the post because I want to jump right into how to paint the frame.
Dirt Bike Frame Painting Process:
- Strip the bike
- Prepare the frame
- Apply rust prevention
- Apply under coat
- Apply paint
- Apply top coat
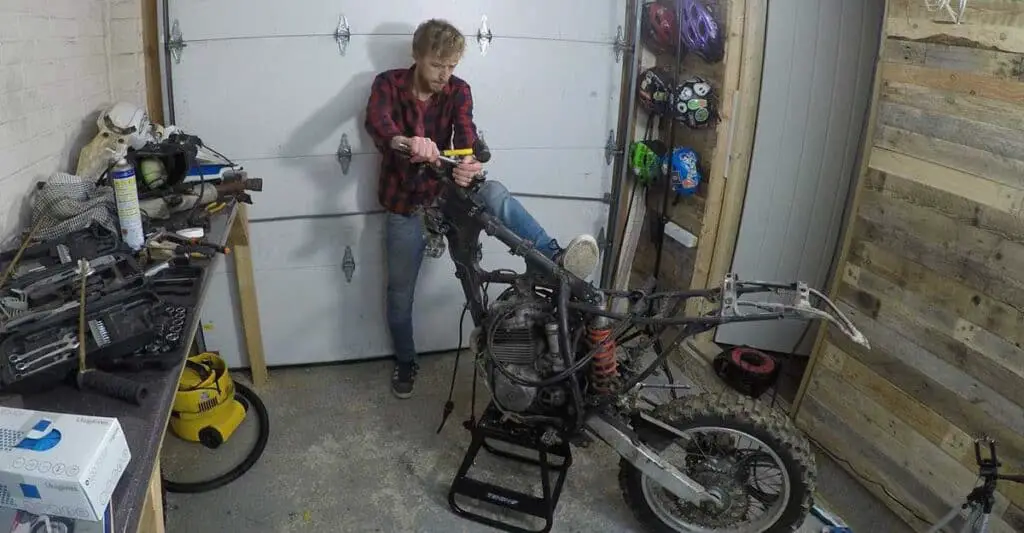
1. Stripping The Bike Down
It is always a good idea to completely strip the frame of components before you start any prep work. Sure you can paint sections of the bike by masking off the areas you dont want to paint, but to do a proper job with a nice even application, then fully stripping the bike is the way to go. This will also go towards giving you the best possible finish.
For my Honda XR250 Project I actually documented the stages I went through when stripping the bike down so it is a great post to show you how to take apart a dirt bike if you haven’t done it before.
You will also find in that post a couple of top tips for keeping track of the bike parts and making life easier when it comes to putting everything back together. For ease here’s the link straight to it. – www.projectdirtbike.com/taking-apart-the-dirt-bike-honda-xr-strip-down
2. Preparing Your Frame For Painting
Like most things in life, the better the preperation, the better the final result and painting is probably near the top of the list for that saying. Taking time to do the best you can will pay off.
Prepping the dirt bike frame after it has been stripped, will involve
- Removing any old, loose and flakey paint from the frame.
- Cleaning and degreasing the frame.
- Mending any broken parts.
- Keying up the frame ready for painting
- Final clean
- Hanging the frame ready for application
To remove any loose and flakey paint I like to use a metal scrapper, the multi purpose kind you will likey find in anyones garage.
Using the scrapper, dont be shy in tackling any paint or rust bubbles, you are looking to remove anything that looks like it wants to come off, or shouldn’t be on there.
Next up give the frame a good clean. I like to start by using paper towel on any areas that have built up grease, like around the swing arm bolt and rear shock brackets. It’s easier to wipe it away dry before you introduce any water.
After using the dry rag for grease clear up, use a good degreaser to assist in deep cleaning the entire frame before rinsing with clean water. You may need to go over it again with a second blast or use hot soapy water to finish off.
Incase you are after a good degreaser then Simple Green is a well known product that does a great job. (Find it here).

Assessing And Repairing Frame Damage
With the frame clean it will be the best time to assess the frame for any broken parts or damaged areas.
Inspect the whole thing from top to bottom, paying close attention for any cracks. Dents are usually just cosmetic unless they are big enough to create a week point by flattening a section of the frame.
Repair anything you need to and if in doubt get a second opinion. I once had a crack in the rim of my rear wheel which I only found after a clean. That could of been a terrible outcome if I hadn’t spotted it.
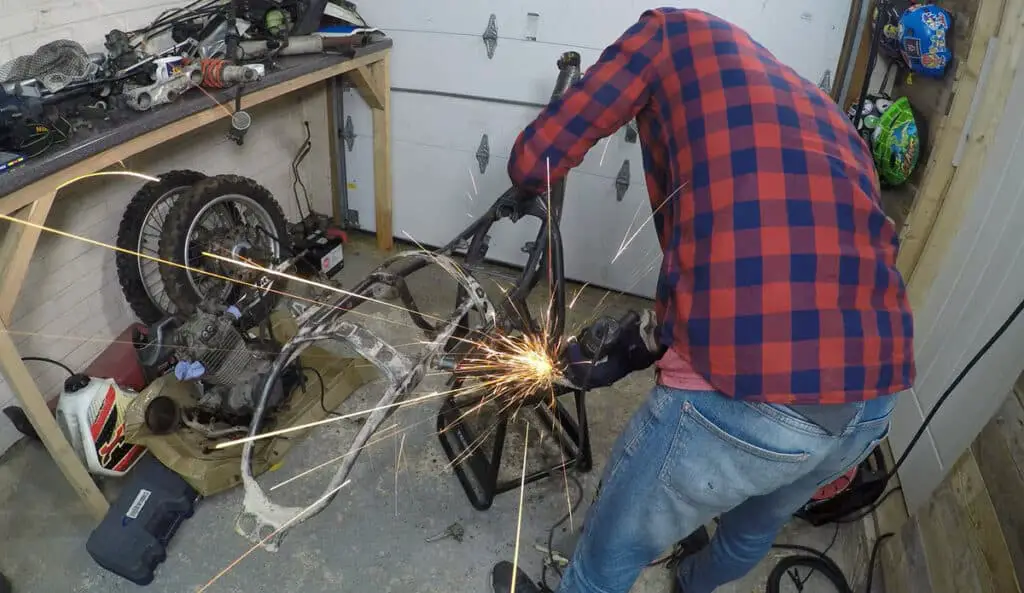
Worse case scenario is you may need welding done.
Sanding and Keying up The Frame
At this stage you are ready to key up the frame and I like to sand any bits that need doing at the same time.
For those of you that don’t know, when you ‘key’ something up, you are uing an abbrasive material to scratch up the surface of whatever you are painting to create the best possible chance for the paint to adhere.
Most people will use sandpaper, which is why I say sanding at the same time is good. Other people will use a course scotch pad but personally I haven’t used this method.
Areas I would be sanding are any parts of the frame which may of been heavily scratched to get them out, or areas effected by repairs, such as welding joints which need tidying up.
Sanding will give you a better cosmetic finish on these areas after the paint has been applied so it is worth the extra effort.
As an alternative, instead of keying up the frame, personally I think getting the frame sandblasted is the best things to do. This is a process you have done prior to powder coating a dirt bike frame and is a very effective way of removing old paint and keying the frame at the same time.
You can get it done without going through with the powder coating step and use it in prep for spraying.
You don’t have to do this and keying by hand is a method used by many people who choose to spray their frame.
When sanding you will likely need a course grade like 180 or 240 grit to start so you make quicker process before going over with a finer grade, for which I use a 320. Then for keying on it’s own, just go straight to a 320 grit.
If you are following the hand keying method then you will have old paint on the frame which is fine. It can be a benefit as it will provide you rust protection to the section of frame underneath. The painted areas will need keying as well though so don’t miss them out.
You also want to try and blend the sections where the paint meets metal. Smoothing the lip where the paint edge meets the metal frame.
Second Clean – Ready For Painting
Cleaning the frame thoroughly is vital at this stage so you don’t have grit from the sandpaper left on the frame which would otherwise get painted over.
Caution is need here though because if you leave moisture on any bare metal left from sanding then it will start to oxidize and rust. Therefore after using soapy water and rinsing I like to towel dry and then use a heat gun or hair dryer to get in hard to reach places.
For the same reason you don’t want to leave the frame in its prepared state without painting for too long as moisture in the air will also start the rust process. Depending on where you live will have more of an impact than other areas in the world that have dryer climates.
Hanging The Frame Ready For Spraying
Before you do any paint application you want to setup a decent work area. Hanging the frame up to get 360 degree access is ideal. You can use wire coat hangers or rope to suspend the frame from your garage ceiling if you are able to.
Where ever you choose you want to be able to leave the frame to dry without having to disturb it otherwise you risk ruining your paint job. It should also be in a dust free enviroment if possible.
3 . Applying Rust Prevention
With the frame hung, get yourself some rust curing paint to go over any previous rust areas you had. This stuff will treat and stop the rusting process so you dont get the problem of it coming back through your new paint work.
Hammerite do one called Kurust which is easy to get on Amazon. You just paint it one and wait for 15 mins before being able to paint over it.
4. Applying The Primer
To get the best finish and a lasting one you want a decent primer. A self etching primer is what you should go for which means you have a better chance of the paint adhering to it properly.
Follow the directions on the can for exact instructions, but in brief you should be holding the can about 20cm away for the target and use a nice even motion.
Top Tip: Buy the best armour your budget can afford.
That is hard to explain in a way to easily understand what I mean, but you are trying to get a continous spray rather then starting and stopping when positioned over the frame itself, which will cause a puddle effect, paint runs and an uneven finish.
I find 2 coats of primer is a good amount, some like 3 but always do more than one on bare metal. Again, refer to the can.
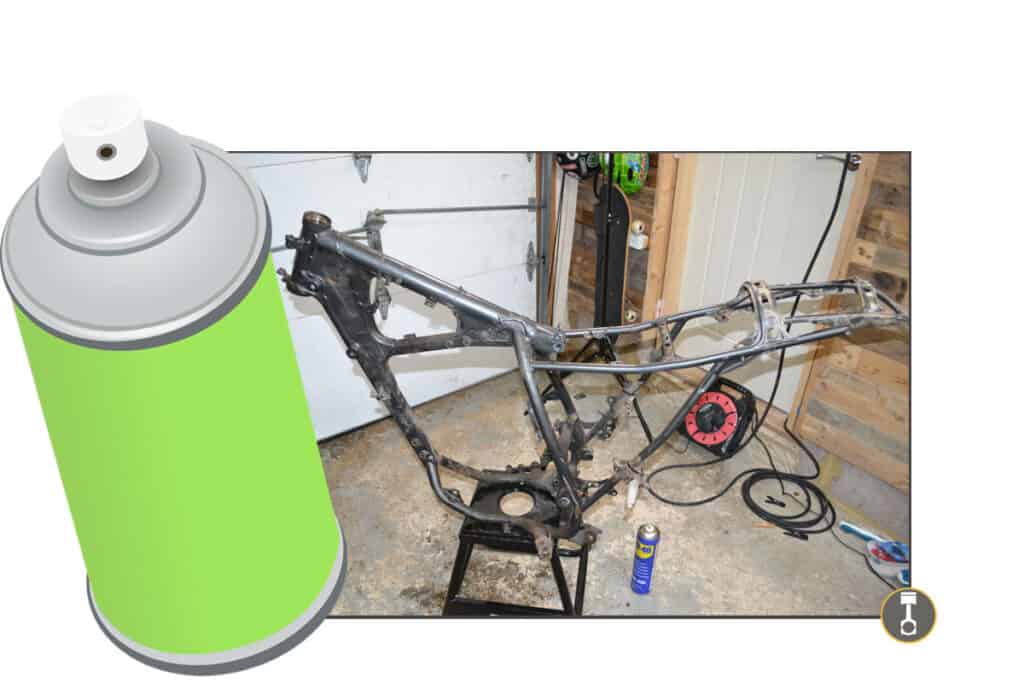
5 . Applying The Paint

This is nothing different then the primer really, you want the same technique and take your time to apply a nice even coat.
Letting the paint start to cure inbetween coats is important because it will make sure the paint adheres to the layer underneath. This should be explained on the back of the can so make sure you follow the instructions.
6. Applying The Top Coat
You may not need this step. It will depend on your paint choice as some paints offer a 2 in 1 solution where they have this built in.
Top Tip: When you have finished srapying the frame, leave it hanging for as long as possible upto 2 weeks to allow the paint to fully cure.
Best Paint For Dirt Bike Frames
One of the great things about spraying your frame is the choice of colors you have available. As well as standard colors you can get effects like metallic or glitter if that floats your boat.
The best paint for spraying any dirt bike frame is an automotive paint applied over a self etching primer. This will provide longevity over standard spray paints. Using a reputable brand without going cheap will help avoid a poor finish.
Although I prefer to powder coat, if I were to go down the route of spray painting my frame I would opt for rustoleum self etching primer which comes in a 12oz can and is usually around $7 per can on Amazon. (Link below) and then Rustoleum automotive paint at a similar price . These products I have used on other parts I have sprayed for dirt bike projects.
Rustoleum Primer – Click to Check Latest Amazon Price
Rustoleum Automotive – Click To Check Latest Amazon Price
I would buy 4 cans of each (primer and paint) which should be enough to do a bike frame. You dont want to run out and 3-4 cans should do it.
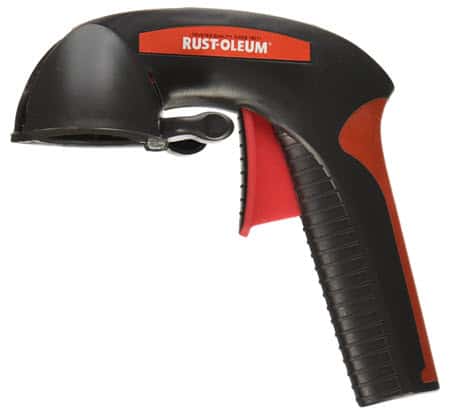
One item I would recommend is the little adapter handle that you can get to fit on the top of a spray can and adapts the can into a spray gun applicator. Rustoleum do their own, you can check it out on Amazon here
Powder Coat Vs Painting A Dirt Bike Frame?
Powder coating is a process where paint particles (in the form of powder) are fired from an electrostatic gun. The frame to be powder coated is charged so the particles seek out and stick to it.
As the powder is dry at this point you do not get any runs on the paint work which is a plus point over spraying. The frame will then be intrododuced to the oven where it is baked to cure the powder and this creates a skin as the powder, in effect melts and binds to the frame.
The resulting finish is one that looks professional and is hard wearing, resisting chips and scratches that you would suffer if the frame was sprayed.
Factory finished frames are powder coated and many people choose to go down this route when they are refurbing their frame. It’s my preferrred option.
Powder Coating
Pros
- Hard wearing
- Professional finish
- Hands off approach
- Cheaper
Painting
Pros
- Greater choice of colors
- Easy to touch up
Cons
- Can cost more
- Potential wait
Cons
- Doesn’t last as long
- Chips and scratches easier
Powder Coating Dirt Bike Frame Costs
You often hear that powder coating is expensive compared to spraying, and people wont consider it for that reason, even though they haven’t got a price for the job. I think the price to get a frame powder coated is reasonable and justifiable.
The average to get a dirt bike frame powder coated in the US is $283. That includes sand blasting prior to powder coating, an essential part of the process.
As I have eluded to earlier on in the post if you are going to be powder coating then you are going to need it sand blasted first. This can be done by a seperate company but very likely the powder coating company will offer this service and for obvious reason you would use the same company for both.
Costs relate firstly to getting the frame sand blasted and secondly powder coated. You will be responsible for getting the bike stripped down of all parts and cleaned up prior to that.
To give you an accurate idea of pricing, I emailed multiple cdifferent companies from across the US to collect pricing data , and then calculated the average price.
The average price to get a dirt bike frame powder coated with the sand blasting included is $283.00. However this included one single company with a notably higher price than the others which would of pushed the price up.
Taking this away you can find a price closer to $250.
Most companies equated an even split in the cost between the sand blasting and the powder coating, although some worded replies in such a way to say that if you only had the sand blasting work done the price would be more than half, after stating the price was 50/50!
I guess they do this because they dont really want the work if you are not doing the powder coating as well so push the price up a little to make it worth while.
Most companies stated a sand blasting price which fell between $100 and $150 per hour.
How Much Does It Cost To Paint A Dirt Bike Frame?
In comparison the price to paint a frame yourself is going to be cheaper. But by how much?
Here is a list of supplies expected to be used with approximate pricing to give an example:
| Product | Total |
| Sand paper – assuming a couple of different grades | $10.00 |
| 3 x Cans of primer | $24.00 |
| 3 x Cans of paint | $21.00 |
The cost of painting it yourself can be rounded up to $50.00 which allows for other bits and pieces, like paper towel, soap and sponges for washing etc, which you will most likely have around the house already but do have a cost.
So powder coating vs painting is going to cost around $200 so the question you will need to ask is… is it worth it?
In my opinion yes, the finish is superior and longer lasting, but there is also a place for painting. Maybe your budget is tight, maybe you are looking to tidy the bike prior to selling.
Finally I will leave you to decide the fate of your frame. Powder coating or painting?