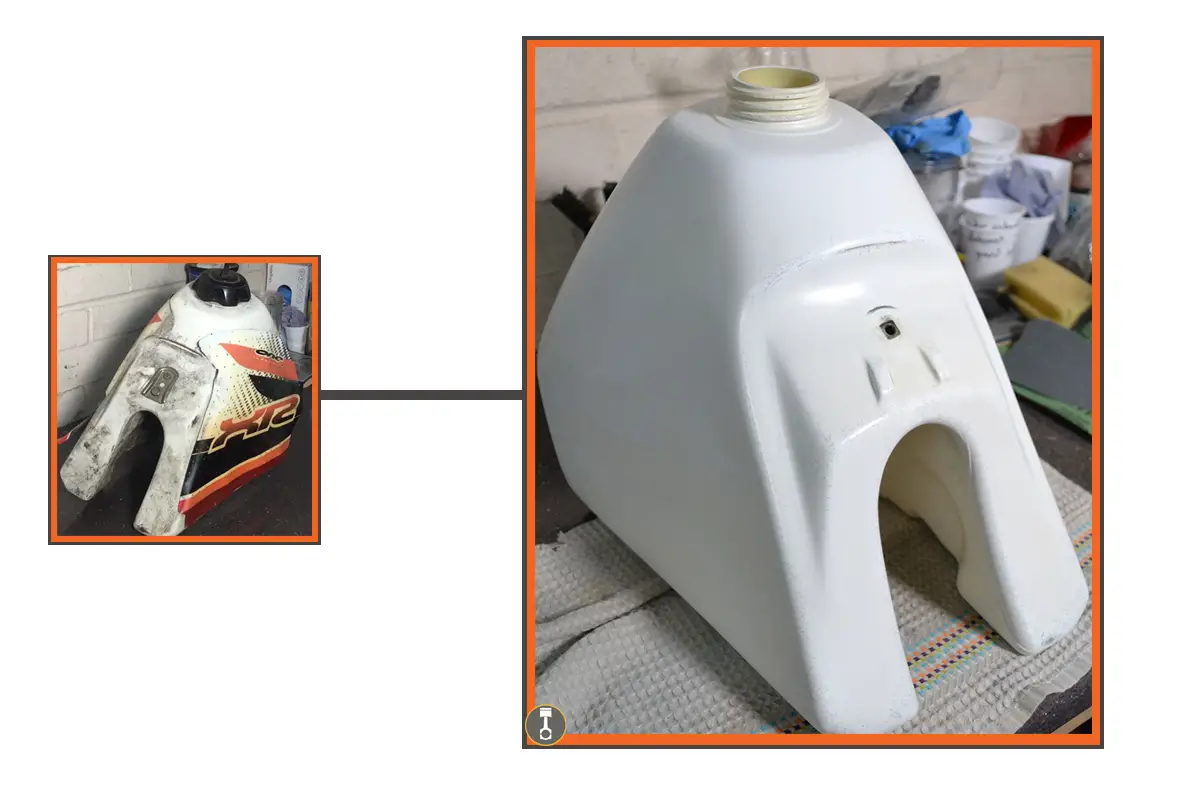
The tank on the XR250 is plastic and to be honest not in bad shape for its age. The functionality of the tank, including the brackets and a fuel tap is absolutely fine, it is only cosmetically that the tank could do with a little overhaul.
The technique I used to revive the plastic tank back to full health was the same one I used when restoring the fenders and side panels. You can see the post for that here – How to restore dirt bike plastics.
It’s a simple process of sanding out scratches and dings then slowly progressing up through finer grades of sand paper until finally using a woollen pad attached to the drill to put a final shine on it.
Although the act of sanding is a simple one, it is one of the most boring things yet to be done on this dirt bike project, and I think it is because it is so time consuming. You just cant rush it if you want to get decent results.
Here is my video which is published on my youtube channel showing the process in a cut down format.
Ideally you should have the fuel drained from the tank prior to taking it off of the frame but if you haven’t then this is your first job. I had done that already as part of the inital strip down.
So, To start I stripped the tank of all the old decals, which for this tank was very easy because they were just short of falling off.
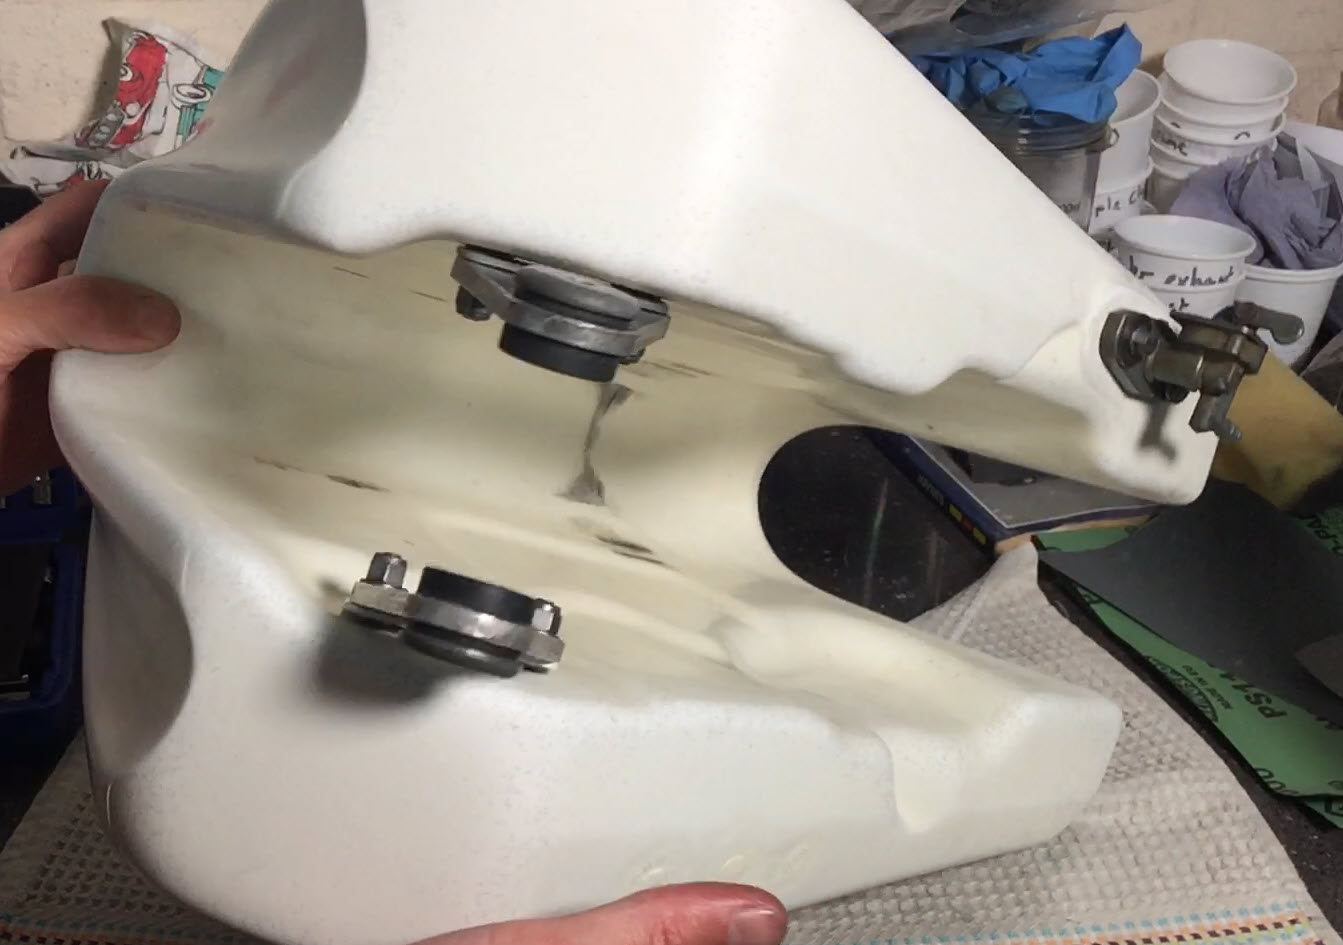
At the same time I took off the bracket on the top side that holds the seat in place, the fuel cap with attached breather pipe, fuel tap – also called the petcock, and the brackets that mount the tank onto the bike frame.
Something you dont see in the video is the cleaning and overhaul of these fittings. In the main, all of the items just had a really good clean with a small wire brush and degreaser, after soaking in a bit of good old carb cleaner.
It was only the mounting plates that hold the brackets onto the tank that I resprayed.
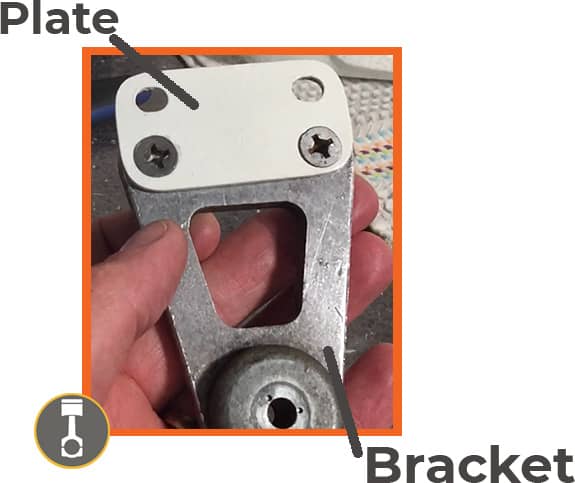
For the respraying of these 2 plates, I scratched them up on the wire wheel, cleaned them with carb cleaner and allowed to dry. Then sprayed them with a primer, followed by the white you see in the pic and finished with a clear lacquer. All of these were out of a rattle can, so nothing technical and I like the way they came out.
When I put back together any of the other fittings I make sure I use copper grease on any nuts and bolts.
One of the things I love to do is to try and keep all the original nuts and bolts. They just feel like they have character, are well made and new ones just look different. All of the tank fittings I was able to keep.
The Tank Sanding Process
To start the tank needs to be clean which is easy enough with warm soapy water and a sponge. If you decide to use some sort of abbrasive pad then be sure to realise that you may be putting in additional scratches that you will later have to work out. For that reason, if you can get it clean with a sponge or cloth then that is your best bet.
It is up to you grade of paper you want to start with. Ideally you the finer the better.
FYI – Grades of sand paper are denoted by grit with lower numbers being course and higher numbers being finer the higher you go.
An 80 Grit should be the lowest anyone would need. If you are thinking about going lower then is your tank worth keeping 😉
So, find the deepest scratch and start there. Use a grit you feel will get it out and test it to see in the smallest area possible. Once commited then you will do the whole tank in an even, uniformed manor. As you sand, use soapy water to keep the surface moist which will help the process.
Inbetween each grade of sandpaper, make sure you wash the tank under running water to get rid of any grit from the previous grade.
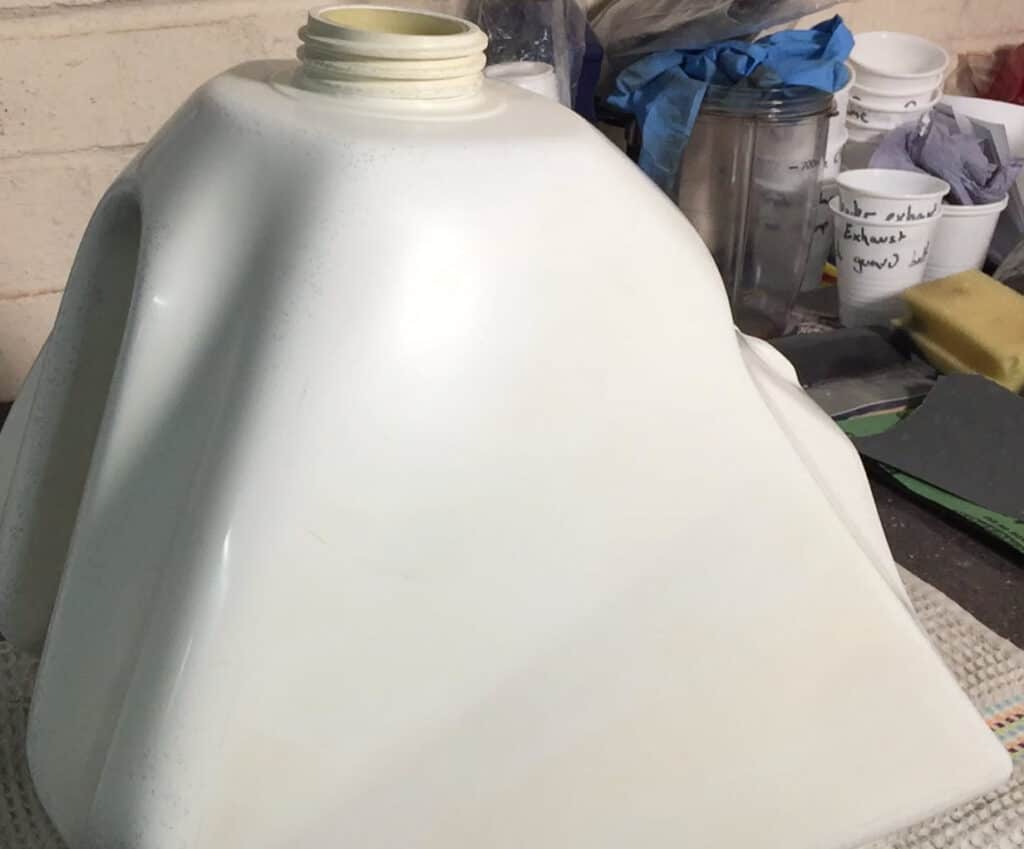
Once you get to your finest grade, which should be a minimum of 1500, the next step is to use a buffer. I picked up a wool pad which just attaches to the drill and is a cheap solution.
When buffing, choose the slowest setting possible and keep the pad moving. If you stop in one spot the heat will build up and can burn (melt) the plastic and you will have to resand.
My tank is now ready for the new decals, which as I mention in the video, I have trouble sourcing the design I believe to be the original. If I cant get them then I will have to use something close.